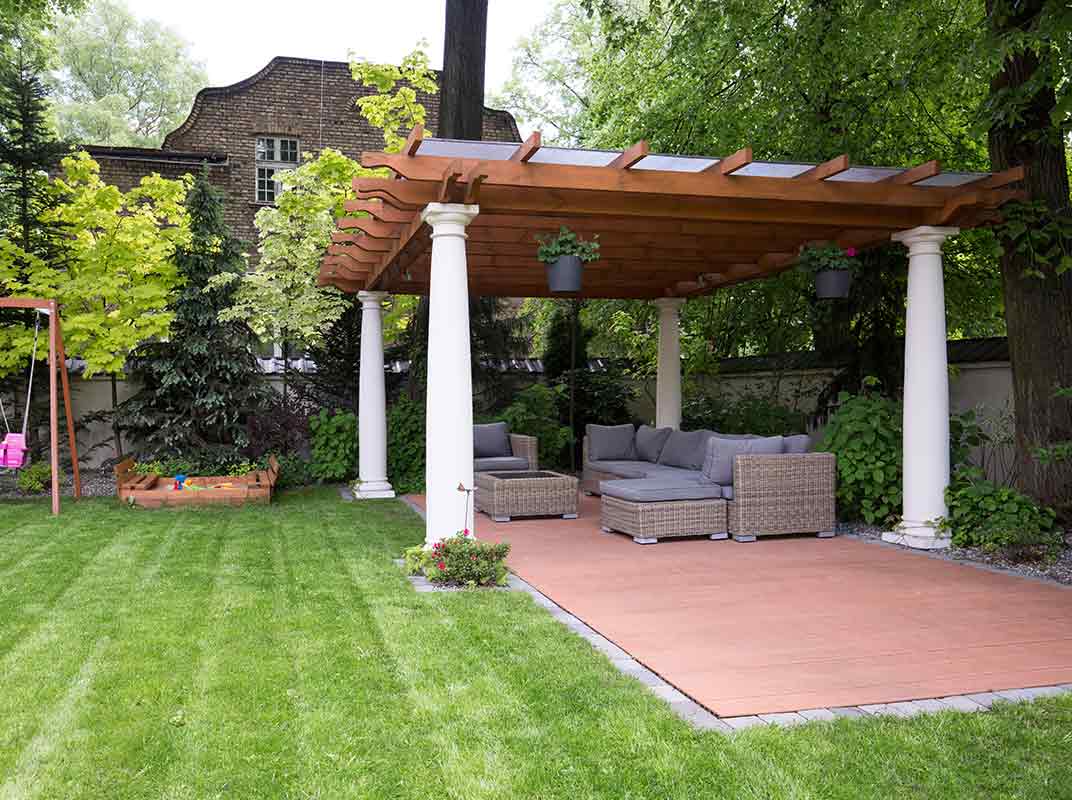
Installing a new patio cover (or “pergola”—we use the terms interchangeably) can dramatically change the look of your outdoor space. Like any home improvement project, there are many important decisions to make before you pick up the first nail.
If you’re thinking of upgrading your patio with a new cover, here’s what you need to know to get started.
Step 1: Familiarize yourself with the space
The first step is to simply go outside to get to know the space. Measure out the area of the patio cover. Chalk the ground with the dimensions or use string on stakes if the ground is grass, rocks, or any other non-solid surface. Visualizing the exact size of your cover ensures that its scale matches the space. Remember, you don’t have to stick with the existing footprint. While there might be some advantages to using your current design, a new patio cover installation might a good time to improve your layout.
Step 2: Track the sun
One of the key functions of a pergola is to provide shade. Once you have the area of your cover set, check back at various times of the day to make sure that your cover is located in the best spot to shade your sitting area or block your windows from the sun. Don’t hesitate to adjust your dimensions to make sure the patio cover performs the job you’re designing it for.
Step 3: Gather inspiration
Start looking online or snapping pictures at friends’ houses or in public spaces when you see a pergola you love. There are lots of different materials, designs and layouts that will make an impact on the final look of your patio cover. Don’t forget important details like hardware (exposed or hidden?), stain or paint color, covering options, hanging plants, vines or lighting installation. Pull together all the pictures you can find that represent your final vision for your patio. Or, talk to the team at the lumber yard about your ideas.
At J&W Lumber, we offer convenient patio cover packages: you choose your materials, finishing details, size and hardware, then we pre-cut all the lumber and gather all the hardware and other materials you’ll need for your job. These wood patio cover “kits” take all the guesswork out of measuring and cutting, so you just focus on the installation.
Step 4: DIY or hire a contractor?
If you’re thinking of installing your patio cover yourself, be aware that this is a somewhat complex project that requires a fair amount of building expertise. Things like leveling a post, setting rafters and beams overhead, knowing where to put hardware, and what length bolts to use (and where) often trip up less experienced DIYers. This is an intermediate project that will require a bit of ingenuity and a willingness to learn new techniques if you don’t already have lots of experience. If in doubt, leave the installation to a contractor. You might spend more but you’ll save yourself the headache.
Step 5: Set a baseline budget
You’re not going to know exactly how much your project will cost until you start pricing out the complete scope, but you can establish a range that will help with decision making. If you have a sense of roughly how much you can afford to spend, share that info with the team at the lumber yard so they can provide the right options and suggestions. They’ll help you manage trade-offs between size and materials to achieve a final product you love that fits your budget. Remember that the budget will change dramatically if you decide to use a contractor vs. if you choose to do it yourself.
Step 6: Obtain the right permits
Even though a pergola is a relatively minor construction project, it still requires a permit. And for good reason: southern California-area patio covers must be able to safely withstand the demands of sun, rain and salt air. Review the state, county and city-specific permit requirements that apply to your area. Make sure you have all the right permits in hand before you begin building.
Step 7: Chat with the specialists
The team at the lumber yard has seen every type of patio cover out there and they’re more than happy to share their experience. Use this to your advantage. Learn about the differences between common patio cover materials like redwood, western red cedar, rough Douglas fir, and aluminum. Check out hardware types, stains and paints. Find out if wood patio cover kits are a more cost-effective choice for the design you want. Ask questions about post requirements, installing footings, and any other concerns you have. Lumber stores are usually a better bet than big box stores for this type of consultation because they have the specialty knowledge to help, and usually better prices and selection for the wood itself.
Setting your project up correctly from the start is your best shot at a smooth building process. Learning everything you can about patio covers before you begin will help you make smarter use of your time, energy, and money. Once you’ve gathered important info and answered all your questions, your patio cover installation process will be made in the shade.
